How to Grow Microgreens
You will need:
- Any kind of plastic container will do, although a shallow tray works best.
- Something for the microgreens to grow in — either potting soil or seedless potting mix.
- A light source: a sunny window, a plant light, or florescent growing light.
- Good quality seeds. Choose from our selection of microgreens!
Choose a microgreen to start growing:
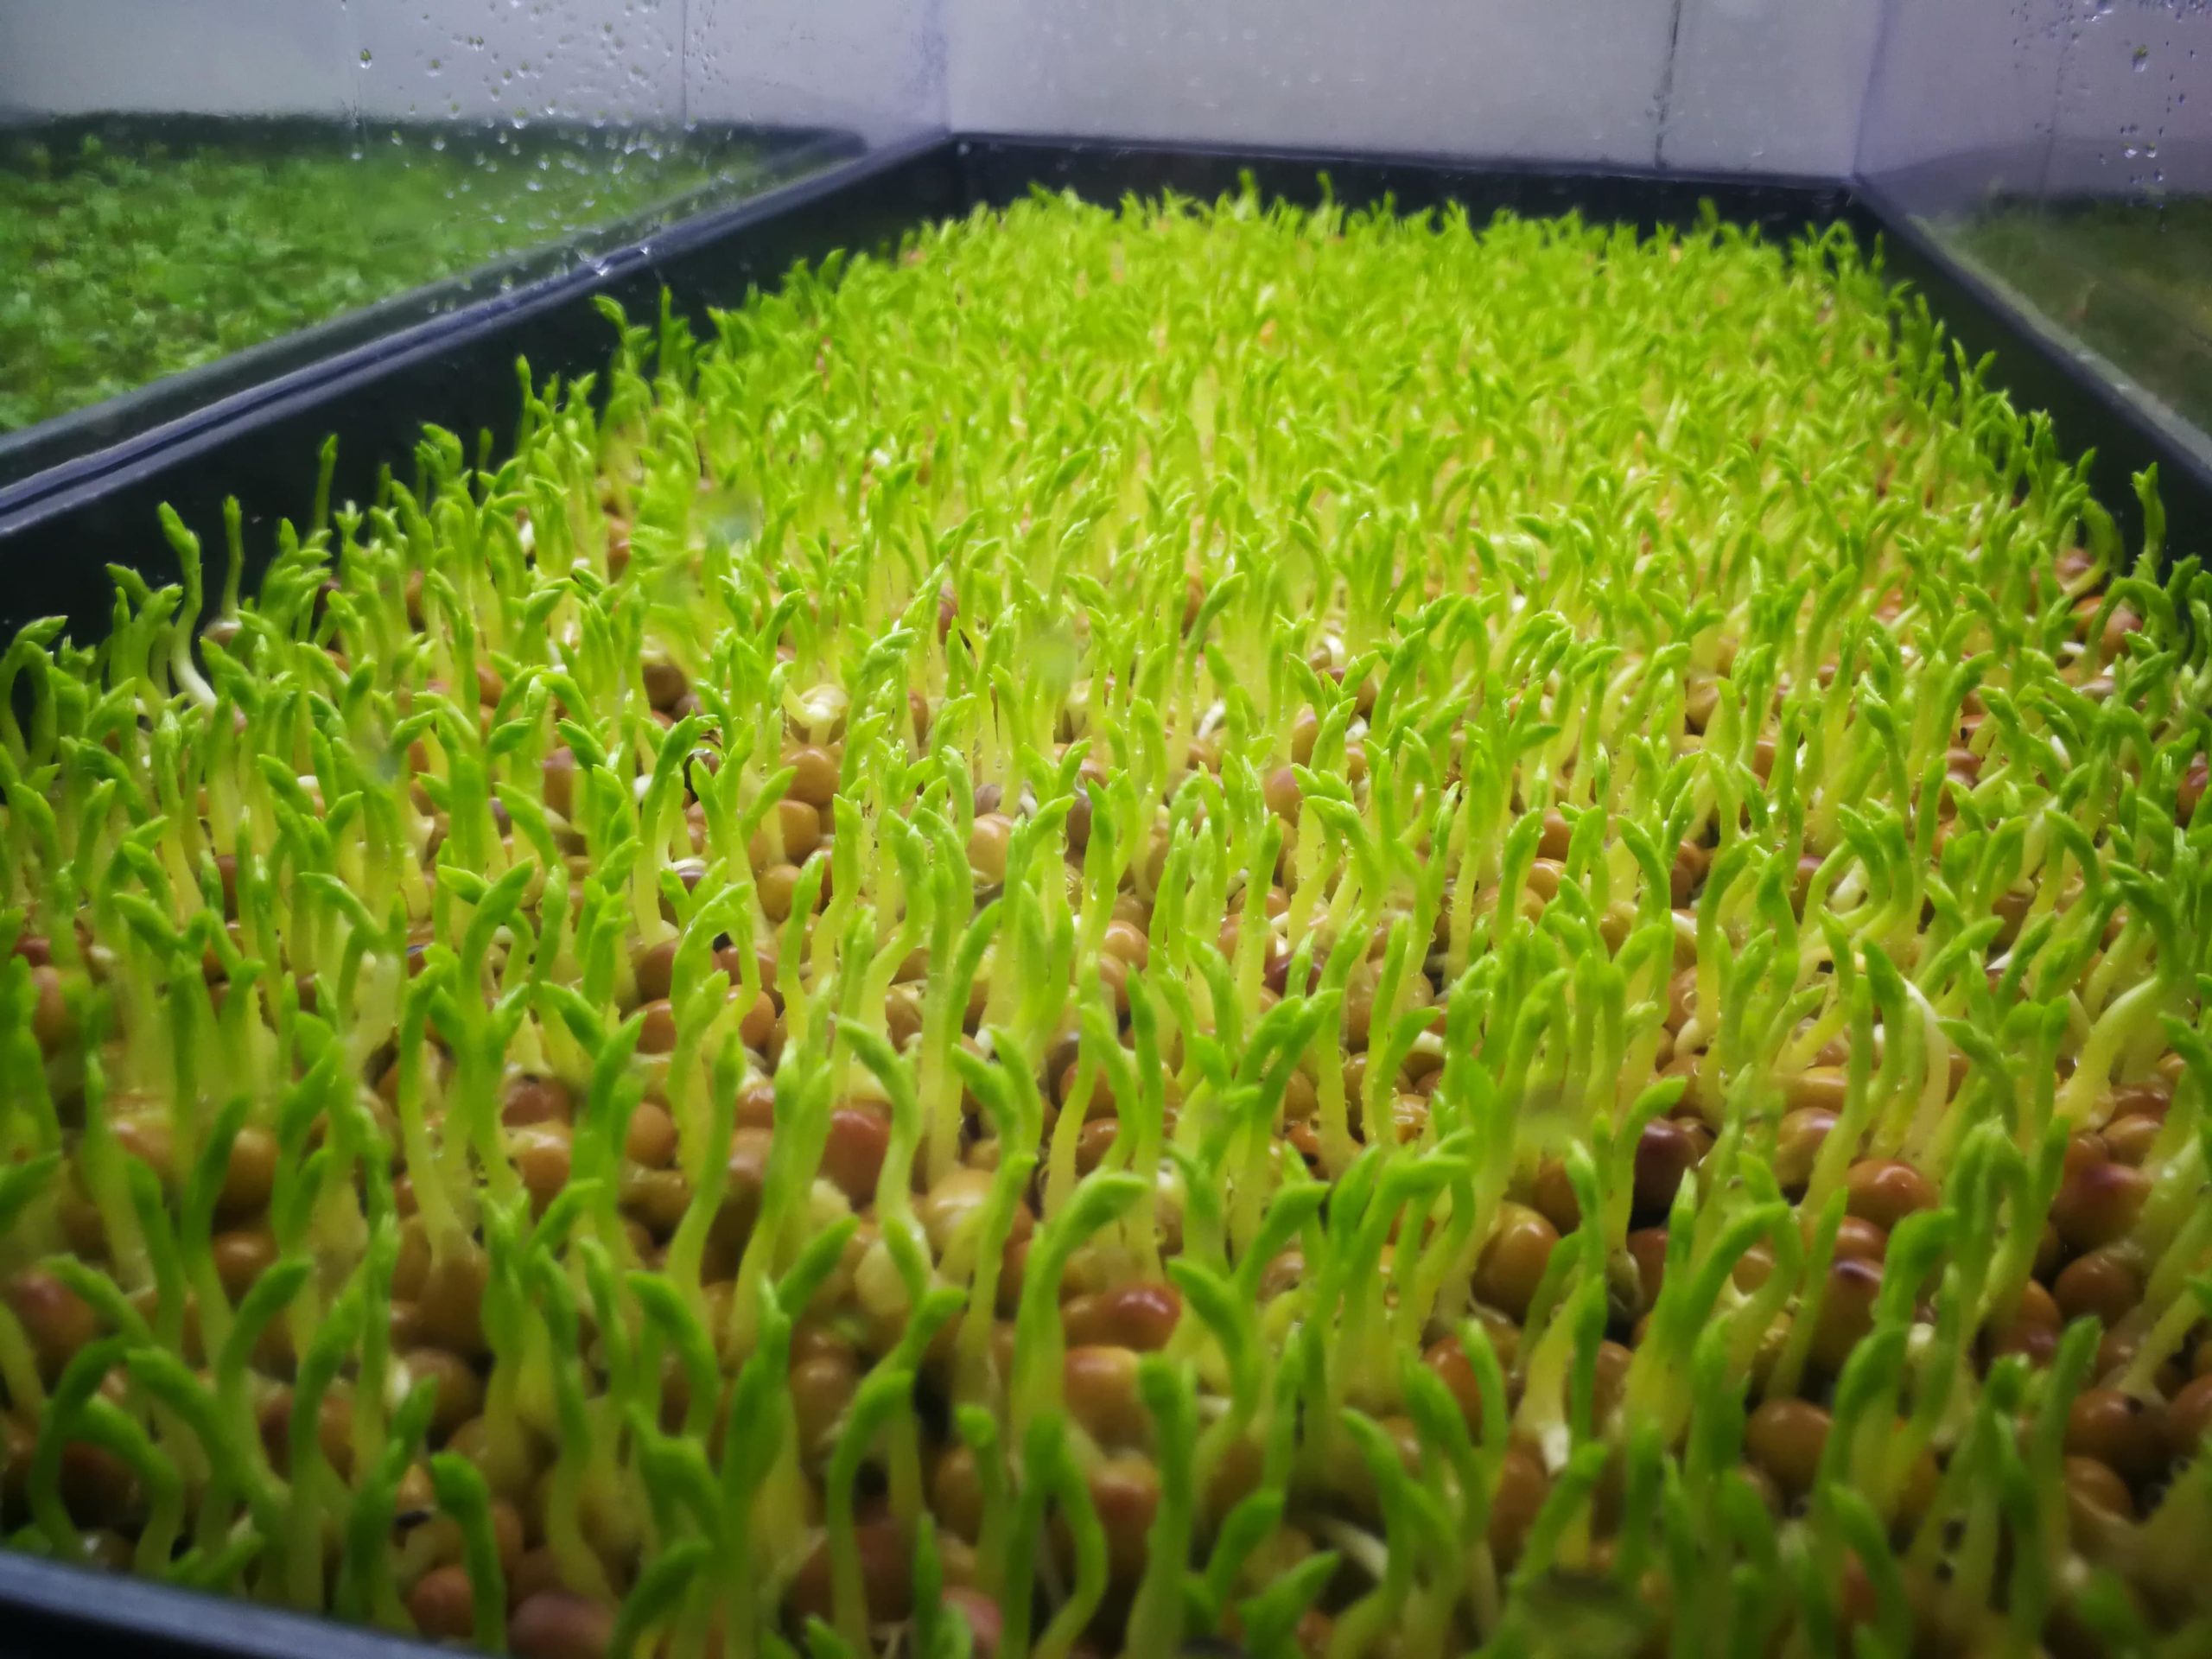
We recommend you get started with something easy like speckled peas or sunflower shoots. These are generally easier to grow as a beginner and are packed with flavor to give you a positive first-time experience. Regardless, it’s going to take work. But the payoff with be a learned ability to grow fresh greens for your family with ease.
Our selection of microgreens are 100% organic, NON-GMO sprouting seeds sourced from one of Canada’s largest seed suppliers. Quality is of the utmost importance to us — and your health and success is non-negotiable. If you don’t see a herb you’re looking for in our store, we will do our best to track it down for you and get it in stock.

Steps to plant your microgreens:
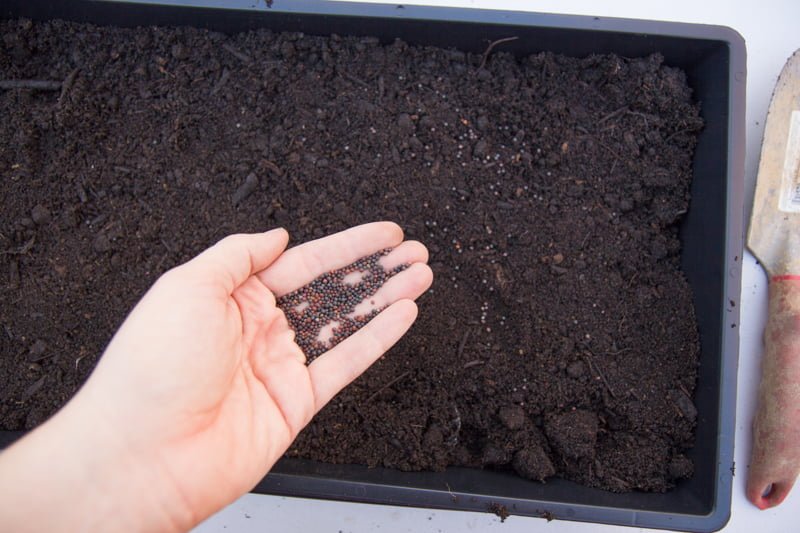
1. Fill your planting tray with potting soil or seedless potting mix. Don’t use dirt straight out of your yard—garden soil can become hard and compressed in trays. Moisten your soil; you want it damp, but not soaking wet.
2. Sprinkle your seeds on top of the soil. Be very generous. Penn State Extension has the best advice: “Picture a toddler adding pink sprinkles to a cupcake.” Some experts say to press the seeds into the soil lightly and leave them uncovered; others say to sift a fine layer of potting soil over the seeds. Both methods work.
3. Water your seeds gently. Don’t just pour a glass of water on top— you’ll wash your seed away! Spray the seeds with a mister or spray bottle, or poke holes in the top of a milk-carton cap or soda bottle lid and use the bottle to shake water over the seeds.
4. Cover the tray with a dome lid, plastic wrap, aluminum foil, a plate, or a wet dish towel to keep the top moist and dark. Check your seeds every day to make sure they haven’t dried out and to see if they’ve germinated.
5. Remove the covering as soon as the seeds have sprouted. Place them where they’ll get six to eight hours of light per day.
6. Keep watering your seeds gently while they grow, but just enough to keep them from drying out. Overwatering will make your little microgreens vulnerable to fungal diseases like damping off. If you have a bottom tray under your planting container, water from the bottom by pouring water into the bottom tray.
7. You can munch on your microgreens any time, but most people wait until they’re about two inches tall, or when first true leaves form—look for the second or third leaf on the tiny plants. Most microgreens are ready in 14 days. A few exceptions: Radishes and kale are ready in seven days, while basil, cilantro, and Swiss chard may take up to 20 days.
8. Harvest your microgreens by snipping them with kitchen scissors.
Source: Reviewed.com